Showing posts with label Glitter. Show all posts

Lauren's Pages

Wednesday, August 14, 2013

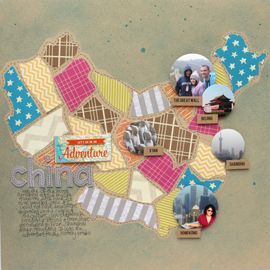
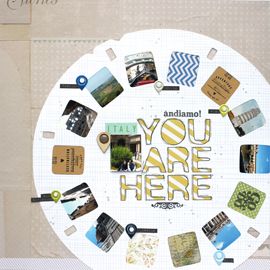
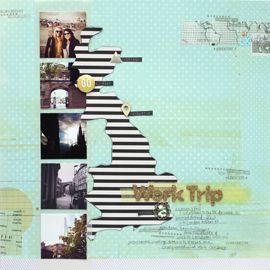
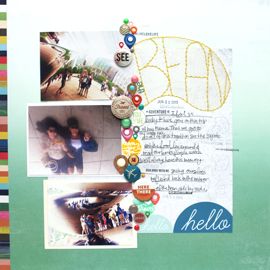
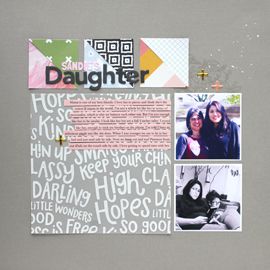
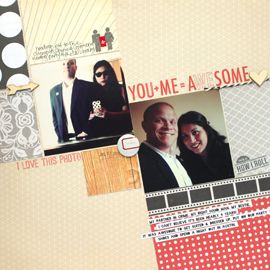
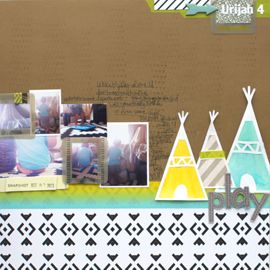
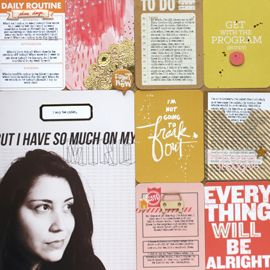
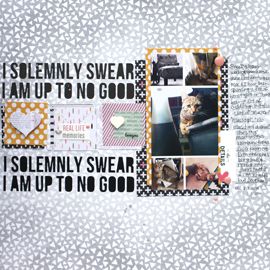
A special little lady turned one last week. For her birthday, I contributed a few pages to her scrapbook. I spent a happy Saturday making these for her. It was fun to just play with my stash, no rhyme or reason, no challenges or assignments.


Find more Lauren pages here =)

cheers & besos,

50 Wishes Card

Sunday, August 11, 2013

Egads! This month is slipping away from me! I feel like I'm losing all kinds of time. Just busy really, hopefully it'll slow down for a few weekends. And then come September, it'll get crazy again! 

So needless to say, I'm falling behind in blogging and classes and scrapping in general. I'm not so bothered, it means I'm making the memories I'll get to scrapbook later when it slows down!

This was meant to be a post for yesterday. Yesterday, because a certain adorable Mama turned the big 5-0. 50! I can't believe it really. She's a young mama, still full of gumption and spunk! I love her to bits.

For this year's birthday card, I wanted to include 50 hearts. Some of them got covered up with the bigger heart, but you get the picture. [See 2012's Card Here, See 2010's Card Here]

I used printables and digital brushes from my SC Toolbox class to create the card.
For dimension, I printed and punched a larger die cut, added some washi and glitter tape and then letter stickers and finally some enamel dots.
I played around in PSE and discovered how to add a gradient or ombre effect. Fun! I printed it out on vellum and taped it inside the card.

Happy Birthday lil Mama!!! I love you bunches and bunches!

cheers & besos,

Nana's Birthday Card

Tuesday, July 9, 2013

Hiya! Thanks so much for stopping by today. It's a special day because a very special lady was born on this day several years ago. It's my Nana's birthday today! I haven't seen her in awhile and this makes me sad. So I wanted to make her an extra special card so she knows how much I love her.

I used my absolute favorite The Pier line by Crate Paper, some inspiration from Ann Schneider guest blogging at Shimelle.com, and the Camp Scrap Week 1 Make & Take to create my card.
 
May's Camp Scrap Make & Take really inspired me to add the extra ink to the edges and the gold polka dots over my patterned paper.
I made sure to really bling it up because my Grandma ain't ever said no to no bling bling. And I love that about her =)
And I'm excited to have used this birthday stamp set from Papertrey Ink. For shame that I had not yet used it!!! But hey, that's what happens when Product Free crafting is on. I use what I have!!
I also made sure to decorate the envelope as well. I think it makes people more excited to open up the card! Simply sprinkle some mist and add a date stamp. Viola!
Here's wishing you a wonderful beyond blessed day Nana! I love you so much.

cheers & besos,

LBD: My People

Friday, June 21, 2013

I have another LBD video and page to share with yall! I used the June 2013 Little Black Dress kit which was sadly announced to be the last one :( I'm bummed. But happy to have had the opportunity to work with them as long (or as short) as I did.

I'll let the video do the talking for this page, about the people I depended on the most, those first few months in London. 
Here are the stills and the close ups!
cheers & besos,

LBD: Brunch with Lauren

Friday, June 14, 2013

Happy Friday yall!! Oh geez...that was a too much enthusiasm. After last night's escapades I kinda can't believe I had the energy to muster even that!! =)

But I digress....

Today I wanted to share another Little Black Dress Kit layout with yall!
I used a sketch from my old Bright Ideas class for this layout. I had a lot of photos I wanted to share on one page. So lining them all up along the edges was the best way to go.
I left a few of the "boxes" open and added some patterned paper and die cuts for embellishing. The tea cup is in reference to Ms. Lauren's favorite song. She howls with laughter whenever we sing "I'm a little tea pot short and stout..." and move her arms to the words in the song. It's the cutest thing!
I added some of the great fringe for more texture. In pink of course, since we're all girls :)
I created and die cut my title using the Silhouette and added some glittery Thickers atop for dimension.
And with just the littlest bit of stamping, I was done!

cheers & besos,

LBD: Life in London

Friday, June 7, 2013

It's June guys! Can you believe it? I honestly cannot. Slow down a little time, will ya? But I'm also excited that it's the 7th because now I can start sharing Little Black Dress June Kit pages!! I had sooo much fun with this kit yall. Heck, I'm still creating with it! But that's for another day.


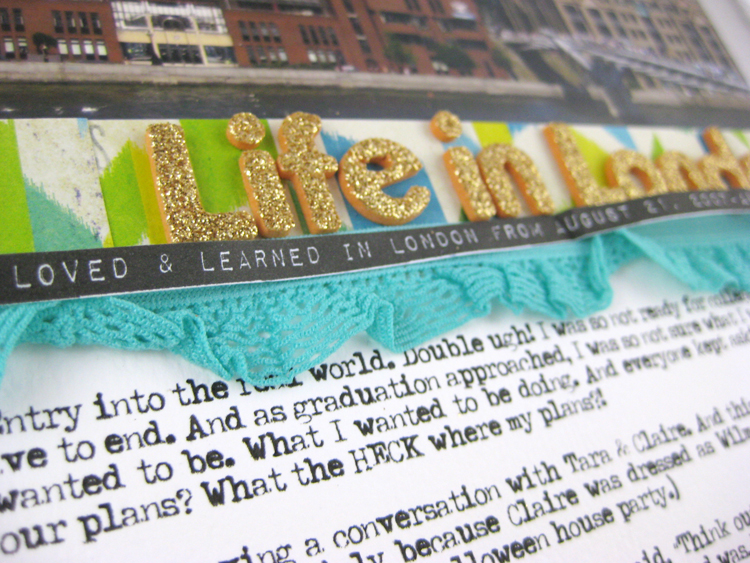
Today I'm sharing the title page I created for my London album. Check out the video to watch me create and share this page & my process and also a little bit about my time in London. In case you've ever wondered =)


Also, here's some close ups! Click each photo to see them enlarged. 


Journaling Reads:

Graduation. Ugh. Entry into the real world. Double ugh! I was so not ready for college to be over. But all good things have to end. And as graduation approached, I was so not sure what I wanted to do with my life. Where I wanted to be. What I wanted to be doing. And everyone kept asking. What are your plans? What are your plans? What the HECK were my plans?!

I remember so distinctly having a conversation with Tara & Claire. And this conversation is pretty much branded into my memory, mainly because Claire was dressed as Wilma from the Flintstones and Tara was dressed as a boxer (it was at a Halloween house party.)


Claire gave me the best piece of advice that day. She said, "think outside the box. What do you really want to do?" And the first thing that popped into my head was, MOVE TO EUROPE!!

Her words really resonated with me and so that Fall I started my planning and plotting. I Googled things, mainly "paid internship London" and the Mountbatten Programme kept popping up in my searhces. Not only would I get to move to London, have an apartment provided and have an internship set up for me with one of the world's largest corporations, I'd get paid on top of it! It was pretty much a no brainer.


Can you guess how this turned out? It ended up being the best year of my life!

I met so many amazing people and got to see and experience so many different placs. Plus, I got to know London as wlel. I loved getting to wake up every day in that city. I loved that i was home.

So thank you Claire, for your oh so wise words. Thanks also to my parents for their continual support of my ever increasingly crazy ideas. Thanks most importantly to London for all of the memories!


A small part of my heart stayed back in London when I left. And I only get to put it back in place when I'm visiting. Not to worry London, my love affair with you is nowhere near over. Until next time....

cheers & besos,

LBD June Sneaks

Monday, June 3, 2013

Little Black Dress Kit Club sneaks for your viewing pleasure today! So excited to share my layouts this month, but I can't until the 7th. Until then, here's a few sneaks for your viewing pleasure.


And guys, those gold Thickers are some of the best (scrapbook) things EVER!

cheers & besos,

LBD: 2013 Fashion

Sunday, April 7, 2013


I think....I think this is my favorite layout from this month's batch of Little Black Dress Kit layouts. I think. It's hard to tell, I was so inspired by this kit! 

When I first got the kit and started to think up page ideas for it, I knew I wanted to use scraps of patterned papers around the edges of a page. Simply because there is so much great color in this month's kit! I wasn't sure what photos to use with this design, but I knew I wanted to make a page like this.

Then I synched my iPhone and had a crop of new photos to scrapbook. This guy is an instagram I took a few weeks back of my cute work look. At the time I thought, "oh I should do a 2013 fashion page" but didn't remember until I had them all up on my computer. I thought it'd be perfect to pair with the idea for my design.

I had it in my head right from the beginning that I would include "journaling" on the photo. So I included the bullet points (so to speak) of what my fashion consists of. I wanted the photo to be big so I printed it at 8x8. It's a littler grainy but I'm not at all bothered. I also printed out a few more tiny instagrams highlighting the other fashion I mentioned.

Instead of adding a paper border, I decided to use gesso to tone down and differentiate my photo from the background paper. I definitely learned some things in Wilna's Art Class if anyone is interested in learning more about different mediums, such as gesso. From there it was just about adding scraps of patterned paper around the edges and adding dimension with a bit of wood veneer.

Oh and I also want to talk about my title. I cut it out of a really thick cream cardstock (Papertrey Ink) and painted it with Martha Stewart Glitter paint. That stuff is the best!

Non-kit supplies used: Martha Stewart Glitter Paint, cream cardstock, gesso, Silhouette, Font: Arial, Arial Narrow, Arial Black

cheers & besos,

Iconic NYC

Wednesday, January 23, 2013

Happy Hump Day! Thanks to Monday's holiday, it's been a short week for me. But I'm already ready for the weekend it seems. Mainly because I want to get back to my scrap desk and play!

Here's my latest creation, a recap page of my trip to NYC in November. I used five instagrams and some watercolors + general sparkle to make this page.

I couldn't figure out the best placement for 5 4x4 shots on 1 12x12 canvas so arranging them around the page was the best I could come up with. But then that made for a bunch of awkward leftover spaces. So I decided to draw boxes in each of them and then fill them in with watercolor. Problem solved!


[PHOTO]
I used a ton of stars for this page. These chipboard ones I embossed with silver metallic zing. I pulled every one of those tiny 3D ones from my last SC kit and then I added some sequins to each cluster.

I even busted out my old label maker and labeled each photo/iconic site.

[PHOTO]

The colors in this middle instagram were throwing me off, so I added vellum over top. But first I stamped this awesome Kelly Purkey stamp over top and embossed it with white Zing!

[PHOTO]

I used some glitter Thickers from Amy Tangerine's Sketchbook line. I love this font! And I thought the glittery letters were perfect for this page about NYC.

[PHOTO]

I even did some painting with my mists. This bottom box was painted with silver metallic mist. It looks so much like concrete it's not even funny. The picture doesn't really let you see the shine but it's there I promise.

[PHOTO]

And finally, I inaugurated this cityscape stamp into my scrapbook. It's been sitting in my drawer 'o stamps for at least a year and has never seen the light of a layout. Well, today it's day has come =)

[PHOTO]

Guys, I can't tell you how much fun I'm having digging through my stash. It's liberating! And I'm wondering how in the world I wasn't doing this before.

Later this week I'll update yall on how how Product Free 2013 is going. I have to make 1 tiny confession and ask your thoughts on another. Check back for that!

Until tomorrow, enjoy hump day yall!

cheers & besos,

Christmas Card 2012

Saturday, December 1, 2012

2012 Christmas card is complete! You'd think I'd be excited but really it's bittersweet for me. 

I know, I know! I'm a weirdo. I know! I really think I enjoy making cards more than I do receiving them.

I just love Christmas so much. And card making too boot! I love layering bits & pieces and trying to figure out how to replicate something 30 times. That's how many I made this year. Doesn't hit 2009 levels, but still with everything going on, it definitely was time consuming.


This year I did something I've never done before. I scraplifted my card! I couldn't not after seeing this gorgeous design by Julie Ebersole. The design just spoke to me. You all know how much I love to travel and this design just felt so very appropo.

I played with it a bit. And my card is definitely not as simple as Julie's, but I wanted to add some of my layers in to make a bit more my own.

And layers there are! I die cut the skyline out of pearl finished cardstock then stamped on top. Adhered this to a vellum base and added jewels + glitter tape. I heat embossed the sentiment with Silver Metallic Zing! and stuck it to the card base with my ATG before finishing it off with some baker's twine.


Of course I couldn't forget the insides or the envelope! You simply can't over look the envelope. That's what gets people excited to open the card! My typical envelope includes some misting splatters, a snip of tape and a date stamp. I got fancy with this one and used a snowflake as a mask for my iridescent mist, subtle but festive!

Here are the 2010-1, 2010-2, 2010-3, 2010-4 and 2009 editions if you're looking for some extra inspiration. (The 2011 version is being published.)

Now on to the harder part...writing in them all!! I write big, it shouldn't be too bad ;)

What about yall? Have you finished your cards? Do you make them? I'd love to see them if you did!

cheers & besos,

Think?

Sunday, February 12, 2012

I don't know if you know this about me. But when I was little, I was very very shy. I was terrible about asking questions, or at least the right questions in my mother's opinion. So she'd coach me through most interactions with my teachers, doctors, or any other authority figure.

I was on the phone with my Mama the other day and she made sure to tell me what I needed to say and to ask in whatever appointment I had going on. Same as she did was I was younger. It made me smile and I asked her, "how do you think I get through work?" She laughed and said she knew, old habits die hard and all of that.

We chatted a bit longer and then hung up but I kept thinking about it after. That's how the idea for this layout popped into my head.

What must she think of me? And all of the crazy life decisions I've made in the past few years? Is she proud of me? Does she think I can hold my own?

I journaled all about it, and tucked it behind this folded piece of new Neapolitan paper.

Archivers had a bunch of it when I visited the other day. Man is this stuff so pretty!! I just had to play with it. And since this idea was fairly none specific, I went to town with the ribbons (plus the new AC Glitter ribbon) buttons and stickers.

Also, drawing from a challenge over at Natt's blog, I created a sunburst with a hand cut mask and Mister Huey Overdue. I think the color worked really well with Lizzy's line.

I think one of the more interesting aspects to this design, is that instead of cutting off the 3 1/2 inches to get down to the 8 1/2 x 11 size, I decided to fold the paper instead. No need to miss out on the gorgeous green watercolor on the B side. Plus, it made it super convenient place to tuck my journaling behind.

And, I got to use one of my cute teal binder clips that have just been sitting on my desk for ages. Bonus!

What must my mother think of me?

I often wonder what my mother must think of me and my galavanting. Of being 27, not married and without kids. I wonder how she thinks of me at work. If in her head I'm still that shy quiet girls who was so scared to talk to strangers. Who shied away from social interactions and found more comfort in a book. I wonder what she thinks of my moving away and being independent. I wonder what she thinks of my life, one that is so very different from her own. Most of all I wonder if she's proud of me and all that I have accomplished. She is my sweet little Mama and my very bestest friend. I hope she is proud of me.

cheers & besos,