Showing posts with label Tags. Show all posts

Big Heart

Thursday, July 25, 2013

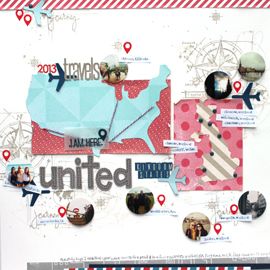
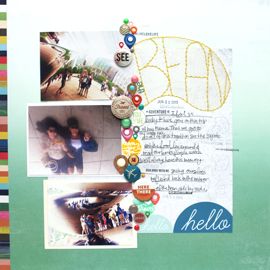
I love my lil mama. She's so cute and giggly! We had so much fun in Chicago and I'm happy I got to make this page. This is the first full layout I made from our trip photos. 
I had so much fun playing with my newest goodies. This is for the 2Peas CHA [Two People] [Six Layers] and [Seven New Products] Challenges. I combined a bunch of fun colors and some of those great Amy Tangerine rub ons. Love the colors in that great floral print by Pebbles.

I totally channeled my inner Lilith Eeckels for this one. It's varied and colorful. I started with the heart and just played.

cheers & besos,

Gondola

Friday, February 22, 2013

Happy Friday yall! It couldn't come fast enough for me, even with the Monday holiday. 

I've been running myself ragged these last few....well this entire year actually. I feel like I haven't really had a minute to breathe! Which is why I'm sick. Of course. 

Itchy throat, wheezy cough, headache. Blah. It's been the story of my life these last few months.

So I'm taking a day to rest, nap, sleep. Oh and blog. But just this one quick post!

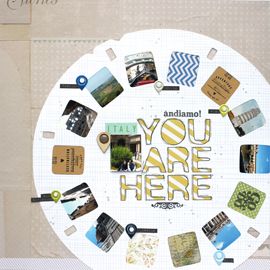
Sharing some Italy pages, made using Bright Idea prompts. This is a total departure from my usual style and I'm still not very sure I like it. But it's made, so I'll slip it into my scrapbook.


I used the Map challenge sketch for this double page spread and tried to keep it as simple as possible.


I journaled directly onto my photo, placed the title there and added just a bit of embellishment.


Then I used washi as a border for my print. I wanted to give it a bit more weight, so I added that fabulous red shipping tag behind to balance it out. The color is so perfect, no?! 

I also channeled my inner Matt Wilson for the "subtitle". We weren't exactly in Rome but still in Italy!

cheers & besos,

BOYS Challenge Layouts

Monday, September 10, 2012

I've been stash busting lately and man does it feel good. The Blow out your Stash (BOYS) Challenges over on the Studio Calico message board are what's getting me through. They even helped me finish up my Japan pages.


This is for Challenge No. 6, the recipe one. I used brads, ribbons and twine, a stamped skyline (a new Kelly Purkey), letter stickers and asterisk cardboard thickers. Those asterisks were the best find, they're basically open triangles all pointing to the middle. It reminded me of the cross walk and all of the streets coming together at this one crossing.


Color color color!! This is for Challenge No. 4, the color one obviously. I cannot think of a better use of Amy Tangerine paper than for a layout about the Hirajuku district in Japan. It's definitely colorful. So happy I got to use these awesome products. They've been sitting around collecting dust!


I've been a Studio Calico subscriber off and on for 2 years now. Brooklyn Flea was one of the kits I missed out on when I cancelled my subscription. But lucky for me, the kit didn't sell out and was available for a deep discount at one of the Last Call sales. Hence, it was as yet unused.

For Challenge No. 1, I decided to get it out and cut into it. And as part of the challenge, I decided to lift a layout from Ali Edward's gallery. Her, You are so You, to be specific. I loved the look of those tags.


Finally, I tackled Challenge No. 2. I hand stitched and played with ribbon, trim, twine and fabric, all in one go!

I've always been a fan of challenges. They push to step away from my comfort zones and I always end up loving the results. Mainly because they're usually so different from my norm. What about you, do you use challenges for inspiration?

And, if you're in the market for some other fun challenges, please check out my 4 Challenges post. Two winners will each get a $10 gift voucher. Free money, new pages to add to your album or a new card to send to a friend, what's not to love?

cheers & besos,

E&K Engaged

Sunday, June 3, 2012

And another two bite the dust! :) Lookie who got engaged, sweet Eric and lovely Kim. 


After a very romantic moonlight horse drawn carriage ride in Brackenridge, CO Eric proposed to Kim. She said yes and they sent us all this photo to share their exciting news. It was 1030 at night (so Kim)!!

I saved the photo and ran it through Instagram with a few different filters & printed it both 4x4 and 3x3.

While I was at Susie's this weekend. I put this together while she worked on one for baby Lauren's room. I played with shipping tags, envelopes, labels, fun mini bags & clothespins and of course some embellishments. It's something for their brand new to them home. 


I wish them both every happiness! Love you two :)

cheers & besos,

Saturdays with Yaya

Thursday, December 22, 2011

How is Christmas already this weekend?! Amongst all of the mayhem of this fall, it's snuck up on me.

Alas, our bags are all packed and our shoes are tied tight. I'm ready for this Christmas with MT and his family in Ohio!
Wish us luck, it's the first flown trip we've ever taken with each other. I'm a professional traveler, so this could be really easy or really hard. I will let you know.

But for now, I wanted to share this page, created with my cheat sheet and as I channeled my inner Lisa T.
All of the photos are instagram shots that I had printed at Scrapbookpictures.com. I'd completely recommend them. I know a lot of people order from PostalPix, which is super convenient but annoyingly not great quality. The colors are always so ridiculously off! But I digress.

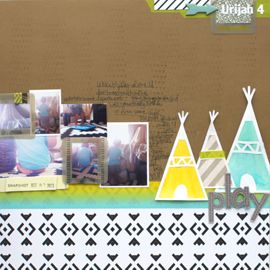
The photos are some random everyday shots of what we do when Urijah is around, a whole lot of hanging out.

I love how these photos also show Urijah's relationship with his "Uncle" Matt. He's clearly very comfortable with him, enough to use him as a chair at least. That photo of their shadows holding hands gets me every time :)

For this page, I used the Chap line by American Crafts. Instant love! I adore this line, especially for cute boy pages.

I'm quite proud of this page, it's the first I had made in at least a month and one for Urijah's Year 2 Album, the pages of which were very scant.

I love adding pages to albums. It gives me a sense of accomplishment.

Well Mr. OCD is pacing the floor at the moment. Even thought he said we were leaving at 3:30 it seems my time is up. I'll catch up with yall when I get back! I hope everyone has a safe and merry holiday!

xxbesos


Sparkling Holiday Cards

Monday, December 12, 2011

Today I'm sharing my Christmas card. And also the "reject" designs from this year.

Meghan, you can stop hit refresh now :)

I made 50 cards this year. 50!! Am I crazy?! But since I've added Matt's family and friends to this year's distribution list, the number had to increase.

I started playing with designs in early November. These were my first three cards. I like them all but for some reason or another just didn't think they were "the" design for year. I felt like I was really close on the first one (the dark green with chevron paper) though.

After building some layers, collecting ephemera and playing with placement, I finally came up with this design. Tada!


There are several layers here:
  • Sheet torn from a Christmas Carol paperback
  • Doily
  • Stamped/Misted Christmas tree
  • Star diecut
  • Stamped Tag
  • Banner
  • Bingo marker
  • Washi tape
  • Brad
It ended up being a bit bulky, so for those that I had to mail (which is 98% of them) I had to eliminate the bingo marker (insert sad face here).

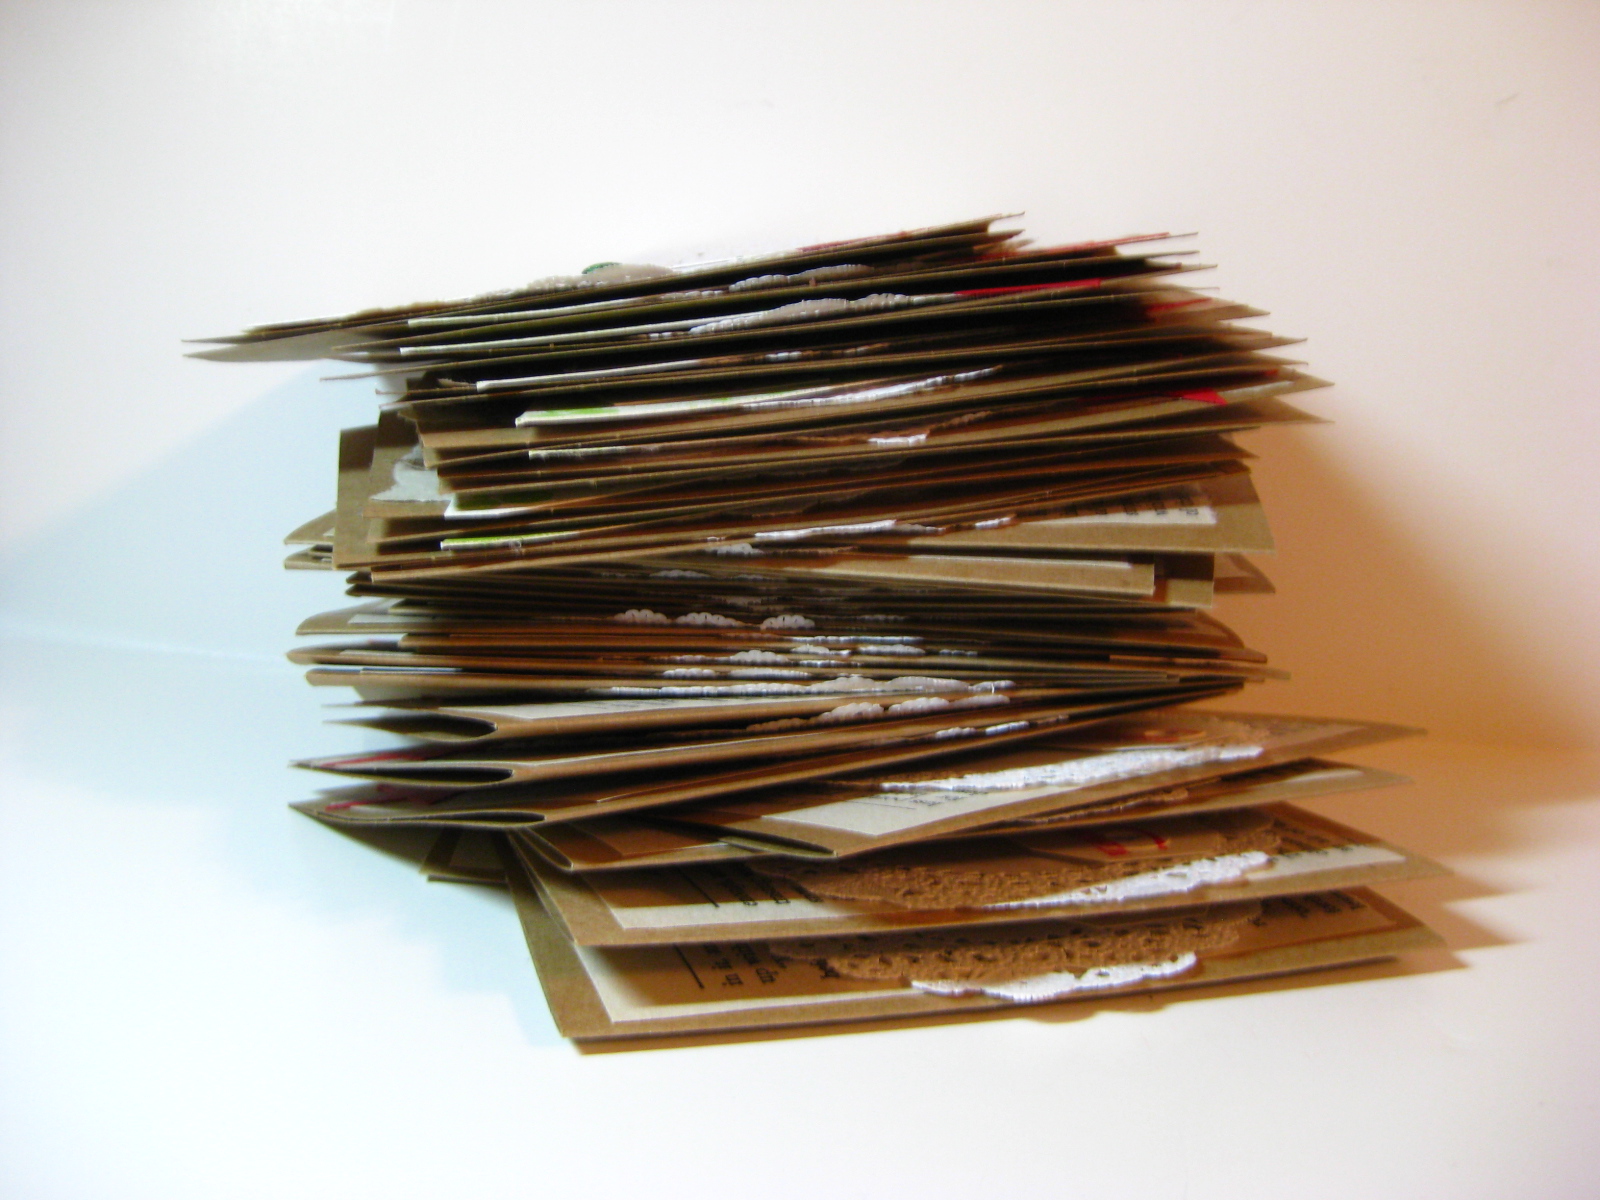
And this is only a stack of 30 of them! I have 20 written in, sealed and about to be posted.

I also couldn't forget the inside! This is an old Hero Art stamp that I love. I'm pretty sure I used it on the inside of some of my cards from last year. It's just so classic!

Christmas is my favorite holiday, so it's no wonder that I go crazy with my cards! I can't afford to send everyone I love a gift, but I can at least let everyone know that I'm thinking of them.

Happy Holidays yall! I'll be back to share the cover of my new Christmas album in a bit. (Hint: it's going to look fairly familiar after your having seen these cards ;)

xxbesos

Thank You Tags

Tuesday, October 18, 2011

Morning! Just wanted to quickly share the thank you tags I made this year =)

I have some very lovely friends and family, who for my birthday gave me some awesome gifts. As a thank you, I created these tags to send out.

They were quick easy and simple. I loved this typewriter (stamp from House of Three Daily Junque set) and wanted to make it blue! After that, I added some tape, and sprinkled some Mister Huey on each. Viola!

xxbesos

Santa's Workshop

Saturday, December 12, 2009


That's what my room has felt like, these last few weeks. As the holiday rapidly approaches, I find myself scrabbling to keep up with the plethora of cards, tags, and gifts, I've happily decided to undertake this season.

It all started with this idea for Christmas cards. I know this is going to be a difficult Christmas for all of the Leija's. It's the first Christmas we've had without Uncle Joe, who went to be with the Lord this past September. I was in charge of the memory boards for his funeral and it was then that I realized how valuable my beloved hobby is. How photographs are incredibly important in the preservation of our cherished memories. Thus, I wanted all of my family members, down to my very littlest cousin to have at least one photo of our loving uncle, father, brother, son and grandfather. And here is the result. I included the same poem I used for Nana's Christmas present as well as a favorite Christmas photo of him.


My next project were all of the little gift tags, I want to include with my presents. I had the idea to make them layered and dangly and love how they turned out! They were incredibly time consuming but definitely worth it. I'll start my tutorial on how to make these little buggers from the bottom tag up.


  1. Using my Slice, I die-cut a 4 in. tag out of Kraft cardstock using the Vintage Memories Design Card
  2. Then, also using my Slice, I die-cut the word "joy" at 1 1/2 in. directly out of the tag, using the Mistletoe Design Card; and also being mindful of the placement of the word. I had to play a bit with positioning to get this in the general area of where I wanted the cut out to be. Save the cut out from the letter "O".
  3. Next, I cut a 1 1/2 x 1 1/2 in square to back the word "joy" from behind. I choose Making Memories Argyle Mistletoe patterned paper bc it's decorative on both sides. I adhered it to the back of the tag and affixed the cut out from the letter "O" to the the red paper.
  4. Playing with my left over cut-out, I sprayed the word "joy" with Emerald Metallic Maya Mist and set it aside to dry.
  5. I typed out the phrase "Do not open until..." and arranged the text into the shape of a Christmas tree.
  6. Using my Slice again, I cut out a mini tag from green cardstock and printed the text directly onto the tag. To decorate, with a gold paint pen, I added a star topper and the trunk of the tree. Finally, I inked the edges with gold stamping ink.
  7. For the next layer, I again turned to my trusty Slice. I cut out a 2 in. ornament using the Mistletoe Design Card. Next, I distressed the edges with Tim Holtz's Vintage Photo distressing ink and stamped a red calendar with chalk ink and American Craft's 2 in. circle calendar stamp. I circled the word "DEC" and the number "25".
  8. The easiest part were these gorgeous snowflakes cut from red cardstock, using the Mistletoe Design Card and the Slice.
  9. Finally, I tied them all together with Martha Stewart's Holiday Baking Twine and hand wrote "To" and "From" on the large tag.


These smaller tags were an after thought, but ended up being some of my favorite creations!
  1. I cut up a manila folder into 2 in. x 3 1/2 in. rectangles. Hole punched a circle at the top and cut down two of the sides to create the look of a tag. Then, I distressed the edges using Tim Hotlz's Distress Ink in Vintage Photo and an ink blending tool.
  2. Using the cut-out sheet from the previous gift tags, I positioned it over the manila tags and covered off the rest. I sprayed the Emerald Metallic Maya Mist and the Red Maya Mist over the cut out and then removed it to reveal the shape of snowflake.
  3. Next, I cut out the shape of a gingerbread man using the Slice and the Mistletoe Design Card.
  4. I threaded the two tags, along with a button, together using Martha Stewart's Holiday Baking Twine and tied it off with a bow

I had a lot of fun creating all of these Christmas goodies! So much fun, in fact, I made too many =) To get everyone into the holiday spirit and to wish you all a Merry Christmas, the first 5 people to comment on this blog entry will receive one of the Christmas tags showcased above. Please include your e-mail address in your comment so I can contact you for address details. Wishing you all mil blessings and besos!

xxbesos
j.leija