
Happy Saturday yall!
Not doing much, getting some chores out of the way, running some errands, blogging. And then picking up my favorite lil munchkin for a play date =)
But I wanted to jump online to tell you about something that Scrapbooks, Etc. does, that I just heard about. They host a Craft it Forward contest, where every month they have a theme for which you can donate your crafts to charity.
This month, cards are to be donated to the troops! Something I've always wanted to do, but just hadn't got my stuff together to send off to this very worthy cause.
So this month, I packaged up about 20 cards to send off. Then....decided to make some more using my favorite card template! Which I'm sharing today!!!
 Confession: I'm hopeless at card making. I just stink at it. My original creations never look good, they're always very random and something is just off. So I card lift, about 95% of the time. I just have to! Why do I need to re-invent the wheel when so many other people have accomplished some truly spectacular cards!
The template I'm sharing todays is based off a card I've lifted before (see the Start your Stash Scrapbook Challenges post) done by Kim Kesti for Creating Keepsakes. With just a few simple supplies, you'll have 6 original cards done in just a matter of hours!
Supplies:
2 Sheets of 12x12 Patterned paper (or 1 double sided 12x12 sheet)
3 Sheets of 8 1/2 x 11 cardstock (or 6 pre-made A2 Cards 4 1/4 x 5 1/2 in)
1 6x6 sheet of a bold coordinating patterned paper
1 6x12 sheet of cardstock (or 6 die cuts)
6 buttons (threaded with twine optional...obvs!)
Scrap paper
Pen
Trimmer
Adhesive
Scissors
 To get started, cut each 8 1/2 x 11 sheet of cardstock in half.
 Then fold each in half
 You'll have 6 A2 size cards!
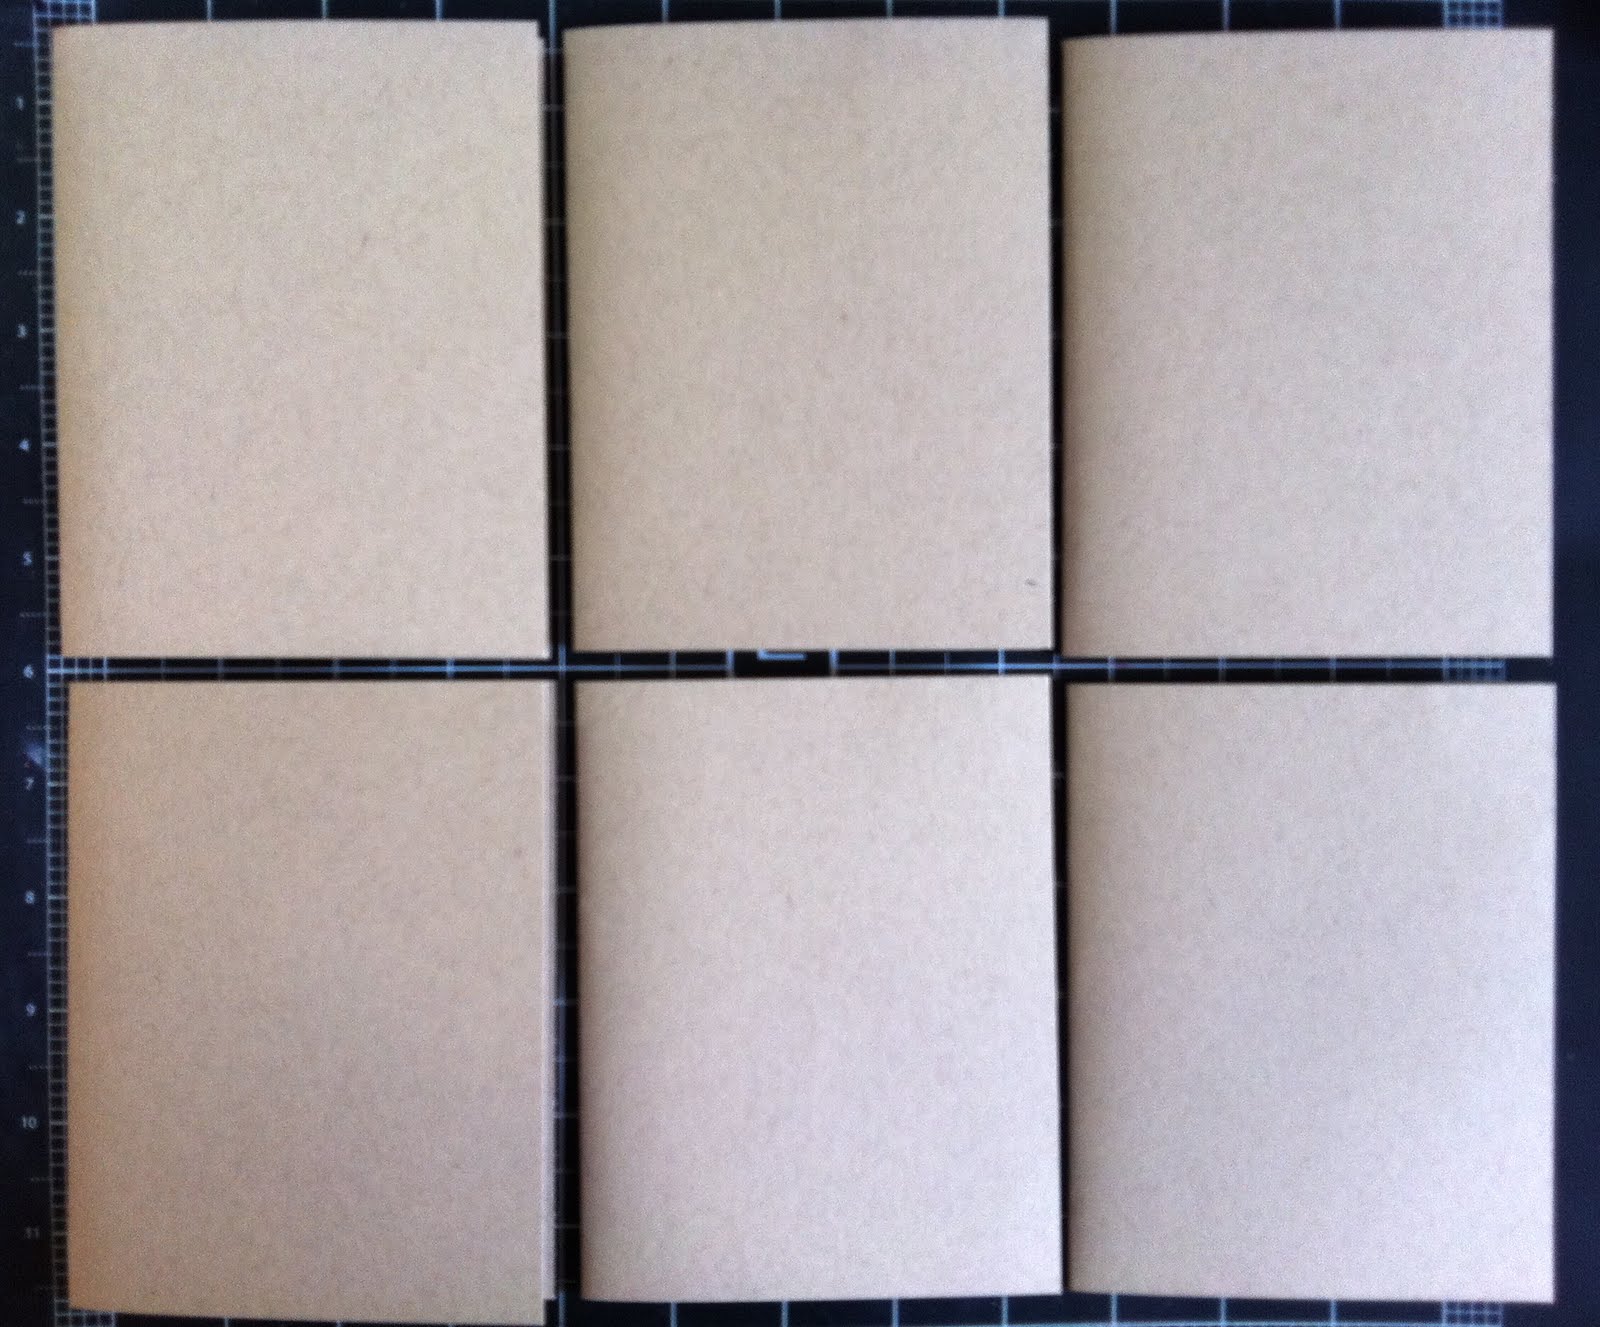 Next, grab 1 sheet of patterned paper. Cut off 2 strips, each measuring 2 1/2 x 12 in. long
 Then, cut each strip down to 2 1/2 x 4 in. rectangles.
You'll have 6.
 Grab, the next sheet of paper and do the same.
You'll end up with 12 rectangles (2 designs)
 Glue one square to the top of the card as shown.
 Glue the other patterned square to the bottom.
Don't worry about the gap in between. It will be covered up.
 Now you have 6 cards, bases done!
Next, you'll want to use the 6x6 sheet of bold patterned paper to cut out flags, triangles, circles, which ever you'd prefer! You'll need a lot, typical 3 flags, 3 triangles, or 3 circles per card, to create your banner.

 And added them one by one
 Until they reached, about 2/3 across the card.
 Then, using the 6x12 sheet of cardstock, I again used a Papertrey Ink die to cut a star.
This was used to anchor down one side of the banner.
 Next, grab a scrap sheet of paper and cut (2) .75 x 12 in strips.
Then cut down further, to .75 x 4 in.
 Using your scissors, cut out a notch on one side.
 Then added your sentiment.
(Which is the great thing about these cards, you can use any sentiment under the sun and it will work!)
 Then, glue the long banner over the tops of the pennant flags to hide the gap, while letting a teeny bit hang over the side.
 And finish it off with a button!
 Here's another batch I did yesterday, except this time I used circles!
 And now I have 10 cards to send off to the troops (I kept 1 of each designs to add to my stash)!!
It's so worthwhile to do, and hopefully, as you've seen, very easy! I made all 12 of these cards in about 2 1/2 hours.
I have a huge bulging package to send off to Cards for Soliders, now. Will you send some too?!
xxbesos


No Comments Yet, Leave Yours!